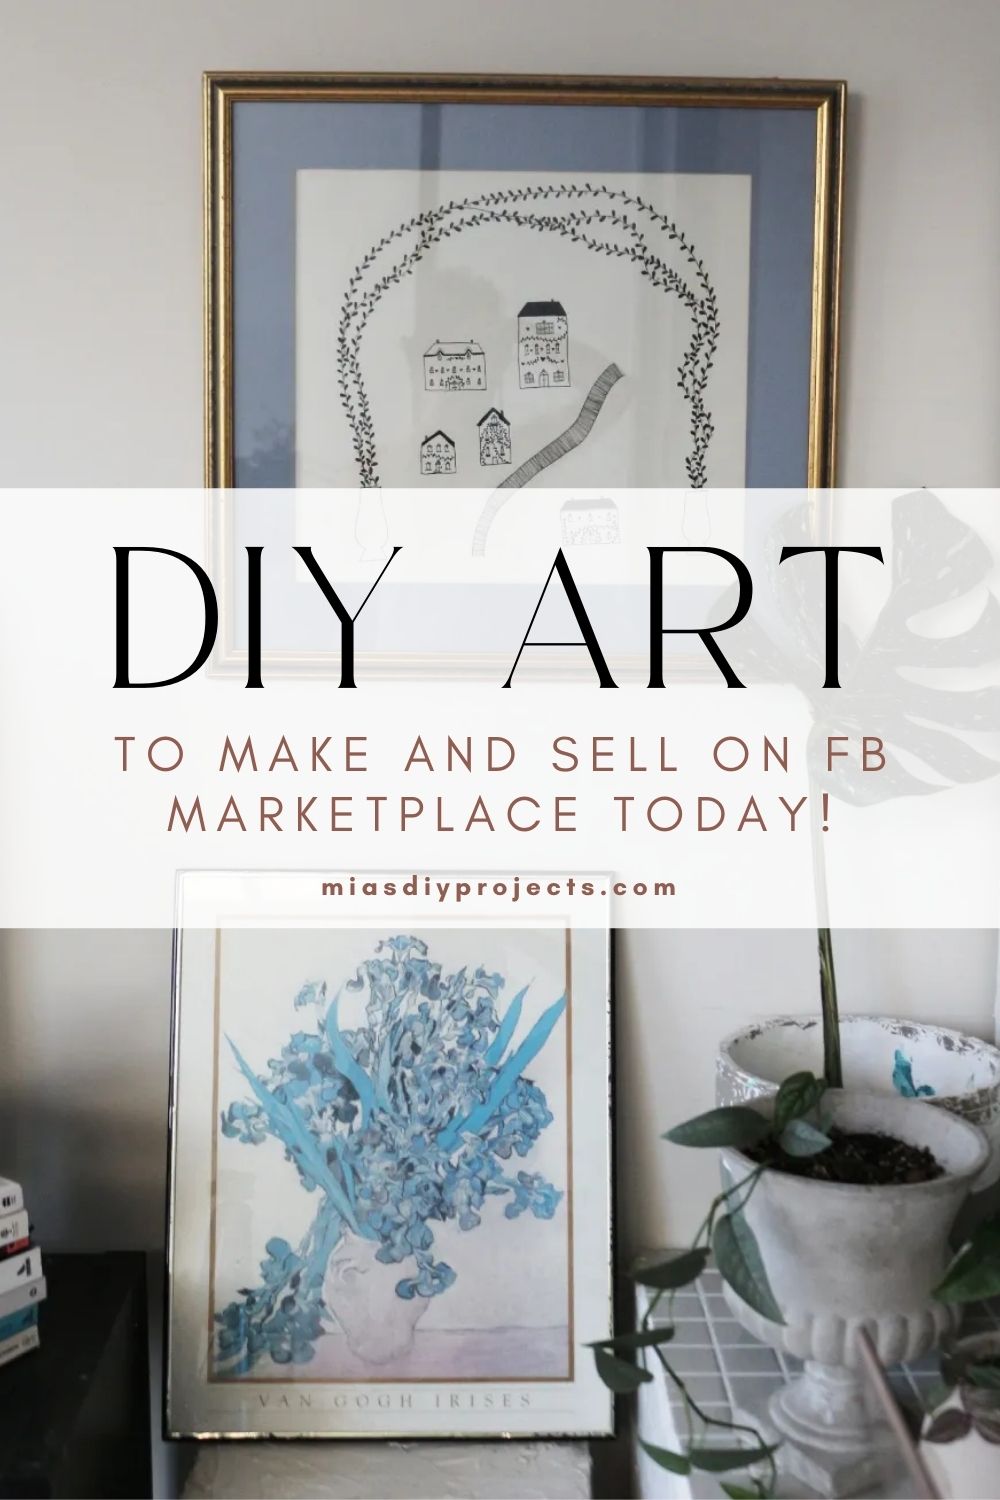
Looking for a creative side hustle? Learn how I made simple DIY art, sold it on Facebook Marketplace, and earned $300 in less than two weeks – as a non-artist! Affiliate links in post.
Guys. Guys. I am so excited to share my latest creative endeavor with you all today – and hopefully help you to earn some extra cash! This is the first in my crafty side hustles series, which is exactly what it says on the tin.
For creative people who want to earn extra money in ways that aren’t soul-sucking, I’m trying out all kinds of crafty side-hustles . . . and reporting back to you!
Because I just Really don’t think the world needs another drop-shipping business, you know?
At the beginning of the year, I sold my old website and quit my job to dedicate myself to building this new site up! Well. Life has a way of laughing at your plans, am I right?
I‘ve mentioned it before on the blog, but I am rather unexpectedly moving from Australia to Canada in less than two weeks now! So the three months I’d planned to spend on this site . . . well, they were mainly spent wrapping up the last of my life here, organizing visas and – I’ll admit it – crying on my sofa hugging my cat. Because I’m literally never going to see her again and she is my baby.
What I did not do was:
a. Get another job (who wants to spend their last few months in a country getting yelled at in a call center? Not me.)
b. Consistently build up my site.

So I had to make money in other ways . . . namely, selling the past four years of my existence on Facebook Marketplace. And, once I realized how profitable FB Marketplace was, I decided to try my hand at selling things I’ve made on there.
And it worked.
I’ve successfully managed to sell thrift flips, crafts and wall art for a tidy profit. However, for today, let’s focus on selling DIY art on FB Marketplace!
Before we jump in: I am not an artist and I knew pretty early doors that I wanted to make a post out of this. So I purposefully made art pieces that would be easy for anyone to recreate!
Hear that? You can do this too.
Let’s tackle the art pieces that I made – and then I’ll share some of my top tips with you all!
Watch This Post In Video Format
Check out the Youtube video I made for this post to follow along with the art more easily. (And subscribe to me over on there too!)
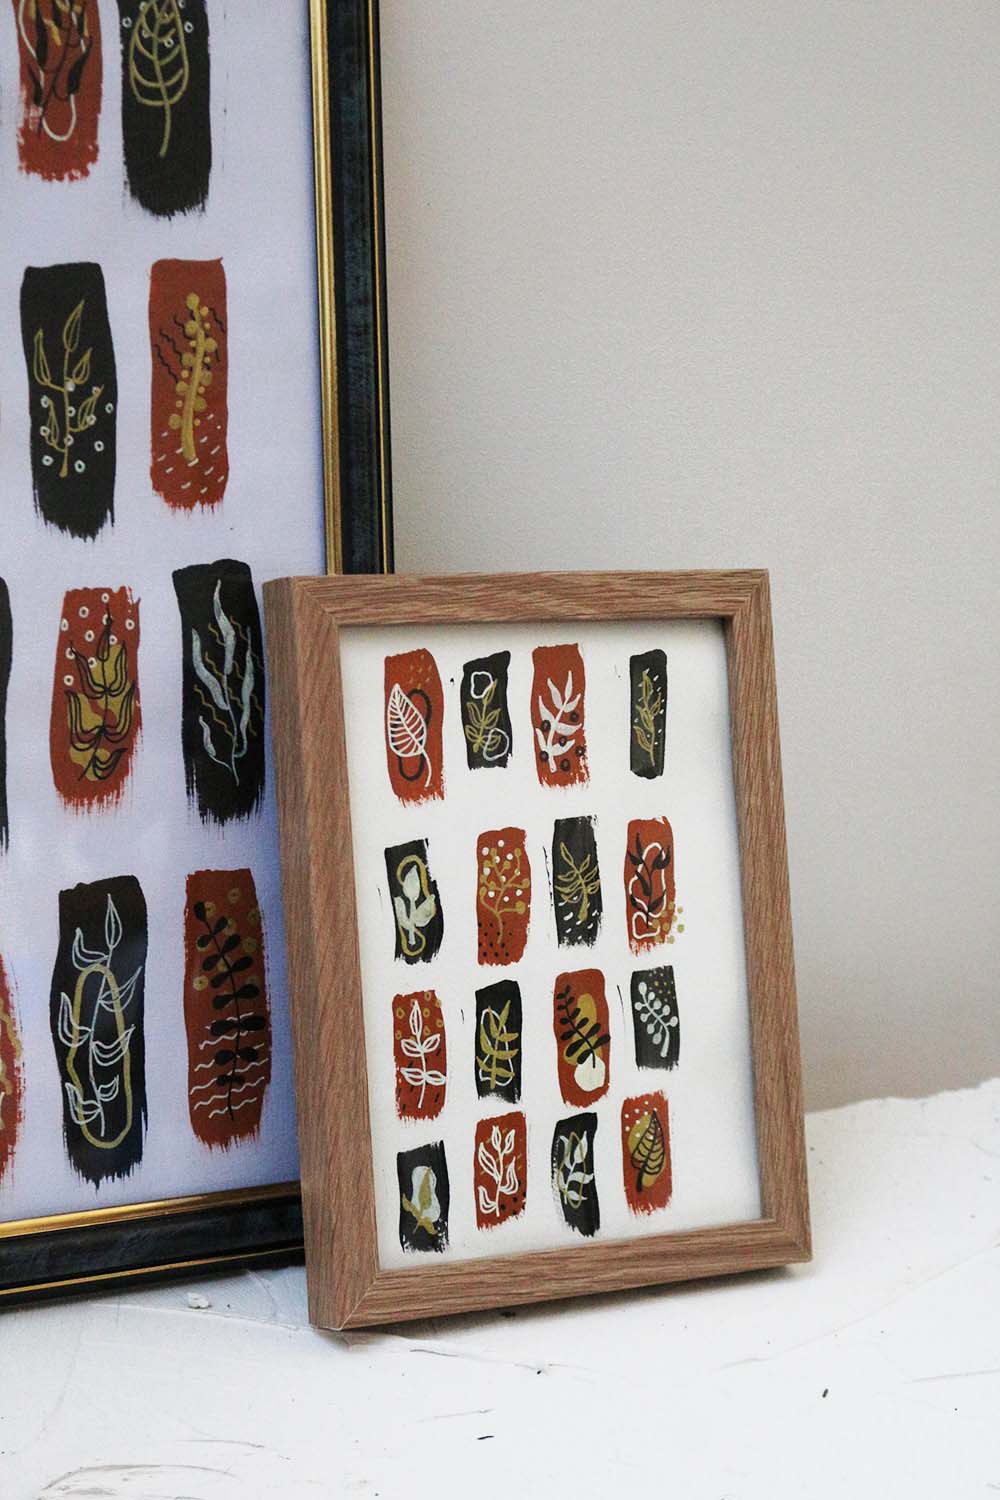
1. Easy Boho DIY Wall Art

The first art style I created was this simple boho wall art. As you can see, it follows a very basic and easy to recreate pattern in a few trendy colours – and the artwork can be scaled up and down easily!
WHAT YOU NEED:
- Base colour acrylic paint in complimentary tones (I chose black and rust orange)
- Paint pens in for detailing (I used black, white and gold pens)
- Paper
- Thrifted photo frames (that large frame was stunning – and only set me back $6!)
- Thick paintbrush
HOW TO MAKE:
- Use a thick paintbrush to create long vertical swipes in black and rust. Paint these in even rows throughout your page.
- Once the paint has dried, use your paint markers to add simple background detailing (like circles, dashes, dots, etc.)
- Then draw simple floral elements on top. You can use the below reference sheet for easy ideas!

Feel free to download that reference sheet for easy use! It’s definitely handy to have some inspo to hand for the floral elements – there’s only so many times your brain can think of ideas without repeating them.
To be honest, I love the finished look of this art style! I’ll definitely experiment more with it in different tones for artwork in my own house when I get to Canada. Would you recreate this yourselves?

(If you would, why not save it to Pinterest for inspiration at a later date?)
Enjoying this post? You’ll love these!


2. Simple DIY Floral Artwork (2 Ways)
Our next wall art idea is something I designed more with kids/playrooms in mind. You may remember from my DIY dollhouse refurbish, but one of my friends is having a baby girl – so I thought I’d create something I could easily gift to her if it didn’t sell.
There are two takes I did with this one; the simple flowers in a square (catchy, huh?) and the large piece with the doodled detailing.

METHOD 1 – Basic Floral Squares
WHAT YOU NEED
- Acrylic paint in pastel tones
- Washi tape
- Fine paintbrushes
- Paper
- Thrifted frame
How To Make:
Again, I’ll direct you to my Youtube video as it may be a little easier to understand visually!
- Create a rectangle in the middle of your paper using washi tape, however large you want your painted area to be.
- Using a fineline paint brush, layer very simple painted flowers into the box in pastel tones
- Once the flowers have dried, optionally add centres and a few small green leaves

Method 2 – Illustrative Flowers
What You Need:
- Black paint pen
- Pastel acrylic paint
- Paper (or a pressed glass frame like I used!)
- Thrifted frame
How To Make:
- Paint large circles of pastel acrylic paint in layers until the background is covered. Leave to dry.
- Use a paint pen to draw simple flowers on each of the circles.
And that’s it! These aren’t necessarily art pieces I’d have dotted around my own home – but I think they turned out super cute.
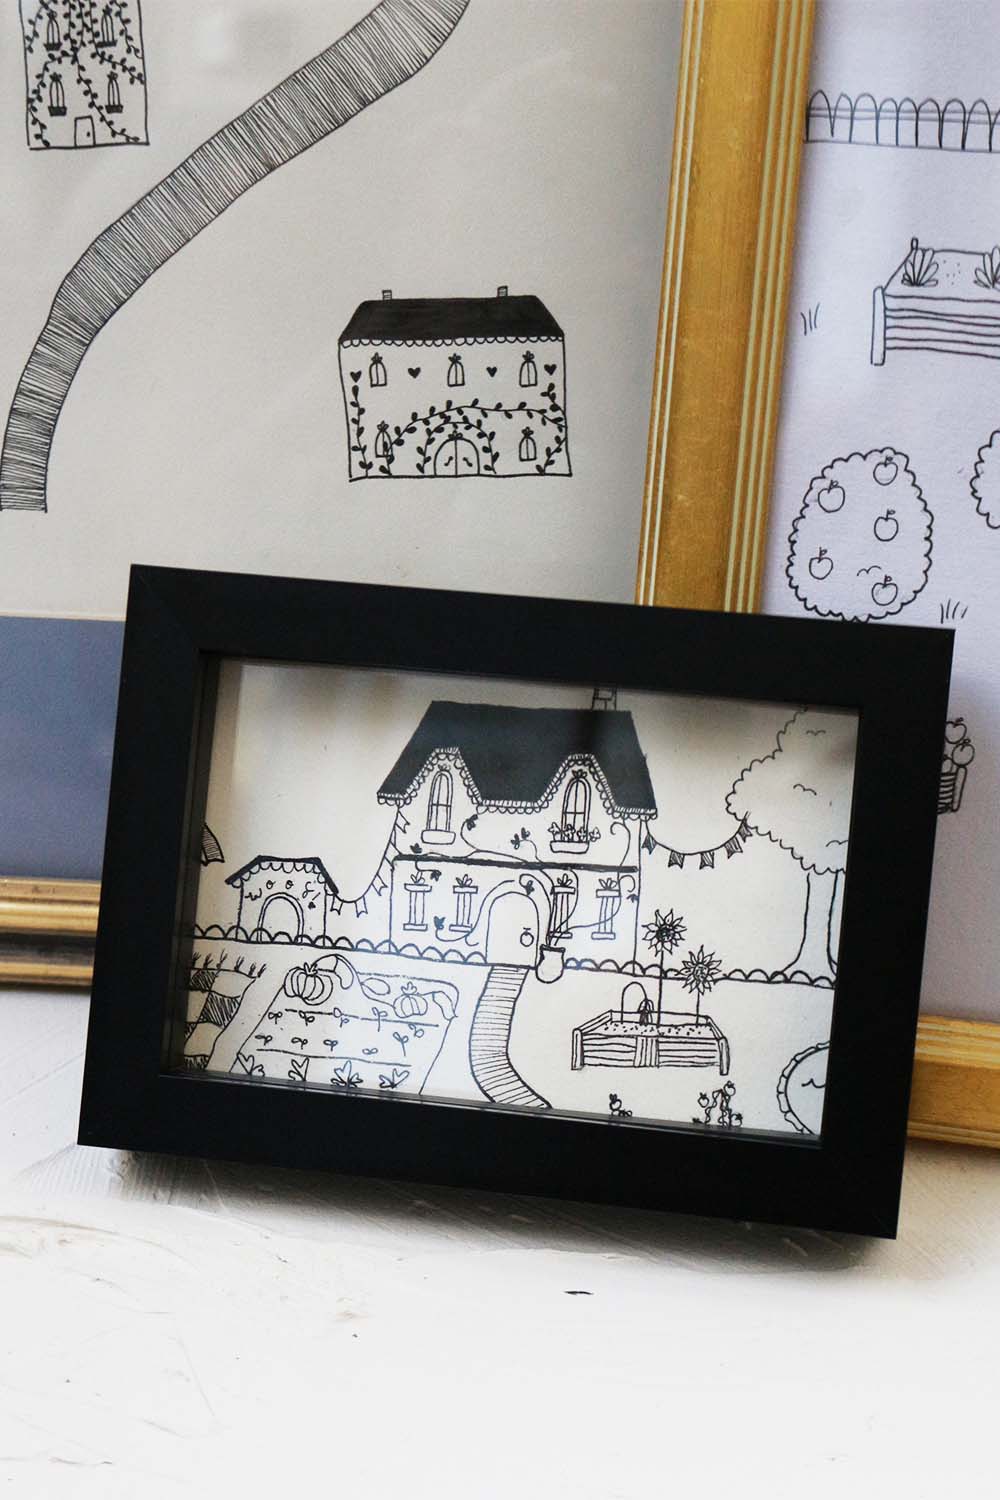
3. Easy Illustrative DIY Wall Art

Lastly, we have my favourite art style: illustrative doodles! If you remember my office makeover reveal, you may be familiar with the above artwork. To be honest, I still love it. (And sold it for $60 within a day of posting it to FB!)
I did list this one last because it does need a little more drawing ability unless you have a reference image you’re outright copying. That being said, feel free to outright copy these.

What You Need:
- Fineliners in varying widths
- Paper
- Pencils
- Erasers
- Thrifted frame
How To Make:
If you want a quick video tutorial for this art style, check out the one I made for my TikTok!
- Draw a loose sketch on scrap paper. You can always play around with sizing and ideas here.
- Once you have a set-up you like, draw it out onto your larger paper and add detailing.
- Go over the illustration in fineline pen, with thicker widths for outlines and finer widths for details.
- Erase the pencil marks.
- Optionally, add gold paint pen detailing and frame.
Checking out artists like Ryn Frank on Pinterest is fab for inspiration with these drawings!
Tips For Selling Art On FB Marketplace & Pricing
And so we reach the last section of this post: my takeaway from doing this for a few weeks.
I priced large artwork at $60, medium at $40 and small at $20.
most frames cost me $5-10 and I already had the craft supplies, so this was mainly profit.
- Don’t bother with small artwork; go big or go home. People tend to be looking for statement items more than small pieces, so not only do you earn more money on the big stuff – it also sells way quicker.
- Nice frames sell! It’s definitely worth getting a cute frame because they make the overall art look way more polished – and they sell quickly.
- Take good photographs. This is a general tip for Facebook Marketplace overall, but spend extra time to make sure your photos look good! Good lighting and a little styling never hurt anyone.
- Create multiple listings. While you don’t want to create duplicate listings, definitely take advantage of multiples. I listed each art piece individually, then created a listing for a “gallery wall art set” in each style and one big “art clear out” listing.
Marketplace is a wild one – sometimes your listings will have 2,000 clicks and sometimes they’ll have 20. So make sure you’re giving yourself as many chances to get seen! - Be detailed in your descriptions. Any blogger knows keywords are the way to go! Make sure you include any details you think people might be searching for – eg: ornate gold frame, floral artwork, boho gallery wall. It’s also worth including nods to your commerce profile like “having a moving sale, check out my other listings for more art!”.

Okay, friends, this post is already longer than my usual – so I won’t take up any more of your day! I really enjoyed creating artwork and selling it on Facebook; not only was it a fun way to spend a few days, but it was also pretty easy.
All in all, this is a crafty side hustle I cannot recommend highly enough! I’ll definitely stick with this when I get to Canada – and I’ll share my newer designs and earnings with you then too. Would you attempt this yourselves? Let me know in the comments down below!
Check out my first Youtube video:
Keep up with me on Insta:
Let’s share ideas on Pinterest:
You are so talented and I’m happy to hear you made some money through your creative projects! I love the Boho DIY wall art! The colors compliment each other so well and I love the yellow/gold! The floral artwork is perfect for spring. Thank you for sharing!
Congrats on all these projects you managed to completely. I wish I were that talented too.
I am SO unartistic and uncreative, I would end up making a complete hash of this but your pieces are beautiful – I’m not surprised you made money doing it, congrats!
Thank you so much, Lisa!
Wow, amazing art wall, you are so talented! I’ve started doing some painting recently and I will also try these ones too. Thank you so much for sharing. x Penny / http://www.whatdidshetype.com
Thank you so much, Penny! I hope these work well for you 🙂
These wall arts are beautiful! You are super talented!
xoxo
Lovely
http://www.mynameislovely.com
Thank you, Lovely!xx
Wow..beautiful wall arts 🙂
Beauty and Fashion/Rampdiary/Glamansion
Thank you, Rashmi!
I loved all of these creative ideas! Absolutely in love with all of them, but that boho wall art is too great not to have! I am so sorry you have to leave your fur baby back in Australia, hope there would be a chance to bring her with you!
Thank you for reading, Cristina! I’m glad you liked the boho wall art 😀 Alas, she is in good hands but I definitely miss her!
You certainly are an artist! I love your artwork and it’s so beautiful and creative! Where abouts will you be moving to in Canada! Let me know if you’re near Toronto!
Eileen | yesmissy.com
Thank you so much Eileen! I’m staying just outside of Vancouver but I’ll let you know if I’m ever in Toronto!
Very artistic and thoughtful approach. I loved all of these creative ideas! Thanks for sharing.
Thank you, Mariann!
That’s exciting you’re moving to Canada & that’s awesome you were able to make some money selling your art! I especially love the floral art! Also, those are helpful tips for selling & pricing!
Thank you for reading Karalee 🙂
Ain’t nobody got time to be yelled at! Glad you were able to come up with a better option for making money! So exciting you are moving to Canada, I used to live there and loved it! xx
For REAL! I am very happy I did not go back to a call centre lol. That’s awesome you lived here for a while too! xx
This sounds like an amazing idea for earn extra money. Thank you for sharing.
Thank you for reading! 🙂
This is such a cool idea! I especially like the dry-erase desktop organizers. So cute, and I feel like this is something I could totally make! ❤